Article Categories
- Baldur's Gate 3
- Diablo
- Elder Scrolls
- General
- Hogwarts Legacy
- League of Legends
- Minecraft
- Pokemon Go
- Sims 4
- StarCraft
- Steam Platform
- Xbox Game Console
More Articles
Getting Rich and Powerful Off Villager Trades
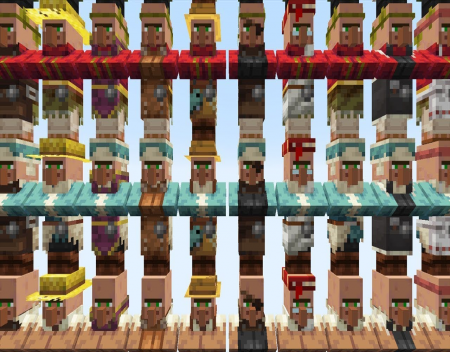
On the surface, villagers really don’t seem like much. They’re helpless, annoying, and not very bright. What they need is a great leader to guide them to a promising future. And by that, I mean you can exploit and abuse them in every possible way in order to make a profit. Capitalism at its finest. Think of yourself as a typical CEO but in a game made for children. Today, we’ll be going over the various steps required for you to erase your sense of morality and get rich in Minecraft.
STEP 1: FIND A VILLAGE
After gathering some basic resources, you’re now ready to unleash your insatiable greed upon the unsuspecting populace. Villagers are of course found in villages, which are generated randomly in certain biomes throughout your world. These little buggers settle down everywhere, including plains, deserts, savannas, taigas, and tundras. You’ll notice your future workers running around their houses, and they’ll never stray too far from the villages they spawned in. Although their appearances are different based on what biome they live in, all villagers function the exact same way. After finding a suitable location, make sure you grab any food and other loot from chests you can get your hands on. They won’t be needing them any longer. Carrots and potatoes will be useful later on. If the village you find has a church, praise the lord, I recommend you take the brewing stand. You won’t be able to craft these until later, so stealing one this early in your game is just a bonus. Don’t ever hang around a village during the night. While villagers go to sleep in their houses when the sun goes down, some are stupid enough to get lost. Zombies can detect and chase after villagers up to 35 blocks away. Guess what happens when they catch them. You could either trap them in their houses with blocks until you’re ready to transport them, or simply skip the night by sleeping.
STEP 2: KIDNAPPING / DITCH DIGGING
After you’re done screwing around in the village and securing the safety of your workers, you need to find a good place to set up shop. I guess you could do it in the village, but I like to find an area with a lot of flat land so I can easily build the farms I need to expand my operation. You can keep the villagers wherever you want, but I recommend you stash them in lit rooms underground. The fence and carpet strategy not only works with animals, but with the villagers as well. This ensures that they can’t escape or be killed by zombies and pillagers. Moving the villagers from their spawn point to your base is probably the most annoying part of this system. It’s going to take some effort, so suck it up. You can either transport them with boats or a railway system. Heads up, the mine cart route is quite costly and eats up a good amount of iron, especially early in the game. The boat route is really cheap, but you’ll need a piston and a lever to get over blocks. You can move as many villagers as you like, but you only need two to start this process.
STEP 3: FARMS AND PREPERATION
Villagers need food and beds in order to breed. If you give two villagers 3 bread each or 12 carrots or potatoes each, they will become willing and produce baby villagers. This process only works if there is an additional bed in the area that hasn’t been claimed yet. I recommend using bread to feed the villagers, as carrots and potatoes are far more profitable than wheat. Build three separate farms to accommodate these three separate crops. This should go without saying, but the larger the farms, the faster you’ll progress. If you plan on overseeing a large amount of villagers, you’re going to need a high number of beds. Beds need wool to craft, and wool comes from sheep. So make a sheep farm. Another vital resource to this system is paper, which comes from sugarcane. You can make automatic sugarcane farms, but chances are you’re too poor to build the more efficient designs this early in your game. You’re going to need A LOT of paper for the trading process, so you’ll need a large manual sugarcane farm to start out. Make sure you also have a steady supply of coal and iron ready. Three or four stacks of each should be enough. You’ll see why later.
STEP 4: START TRADING
Blank villagers get jobs when they claim work stations nearby, such as composters. The quickest ways to get emeralds early game is through cartographers, who buy paper and glass panes, or fletchers, who buy sticks. If you go the glass route, you’ll need to sell the cartographers paper first to level them up to apprentice, then you’ll be able to sell them glass panes. One stack of glass will give you enough panes for roughly fourteen emeralds. One stack of logs will give you enough sticks for roughly 16 emeralds. While wood does seem more profitable, you should be able to gather stacks of sand much faster, especially if your shovel is enchanted. However, smelting all of that sand will cost you a lot of fuel, so make sure you have an ample supply of coal on hand at all times. Otherwise, have fun mining. If you sell too much of one item to a single villager, they’ll eventually jack up their prices and take advantage of your kindness. That’s why it’s a good idea to have multiple villagers that follow the same trade. Once you get a good amount of pocket change, it’s time to start thinking bigger. Once they hit master level, armorers and tool smiths sell you enchanted diamond gear. Selling iron is the most useful way to level these guys up quickly. You should also notice the absurd amount of experience you get after selling stacks and stacks of glass panes. Simply use a grindstone on the gear you bought and you can use those levels to get some pretty sweet enchants. You can repeat this step over and over again until you get the best gear possible.

In Yakuza 0, How do I fight the 3rd to last opponent in the Colosseum?

Can you romance anyone in Hogwarts Legacy?

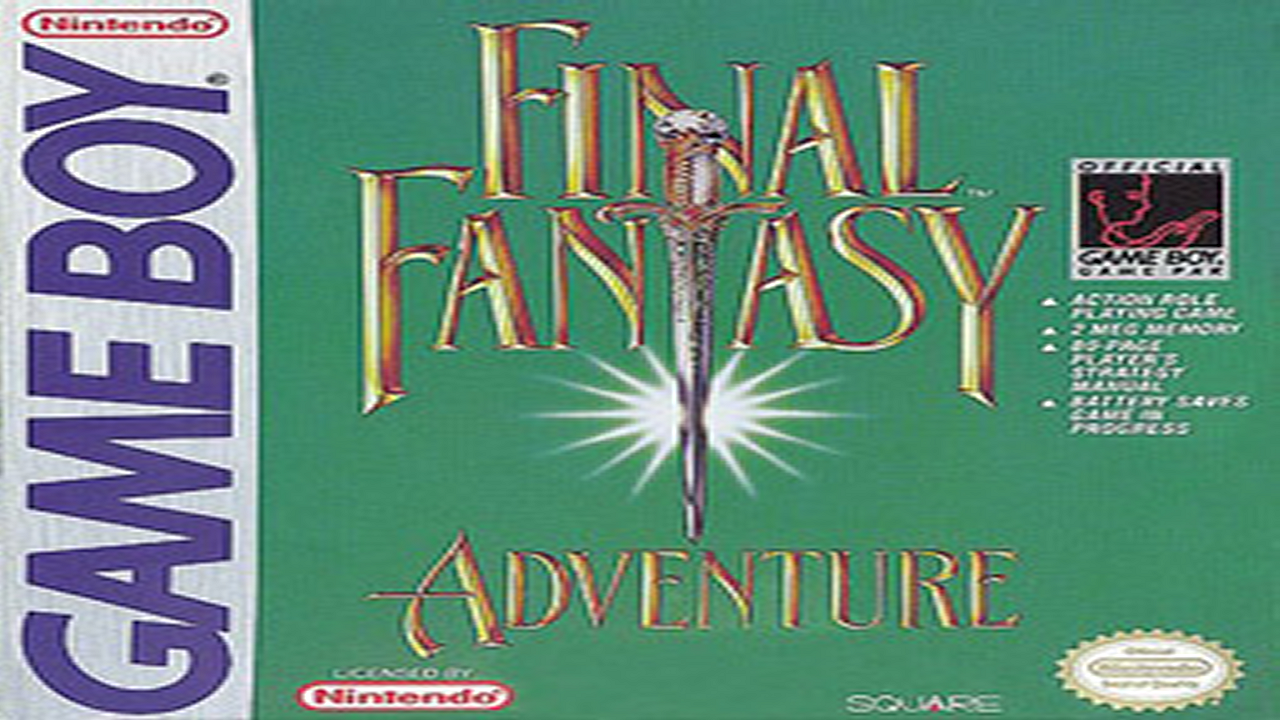
How can I obtain Final Fantasy Adventure for a Mobile phone in the US?
What is the maximum stamina in Nier Reincarnation?

They just dump Marcus' bitchass corpse outside

How to get paperwork for horses in Red Dead Redemption 2?

Is it possible to change powers without pausing in MegaMan Legacy?

Why do my short beards look like crap?

In Tears of the Kingdom, can you activate only certain devices attached to a vehicle?